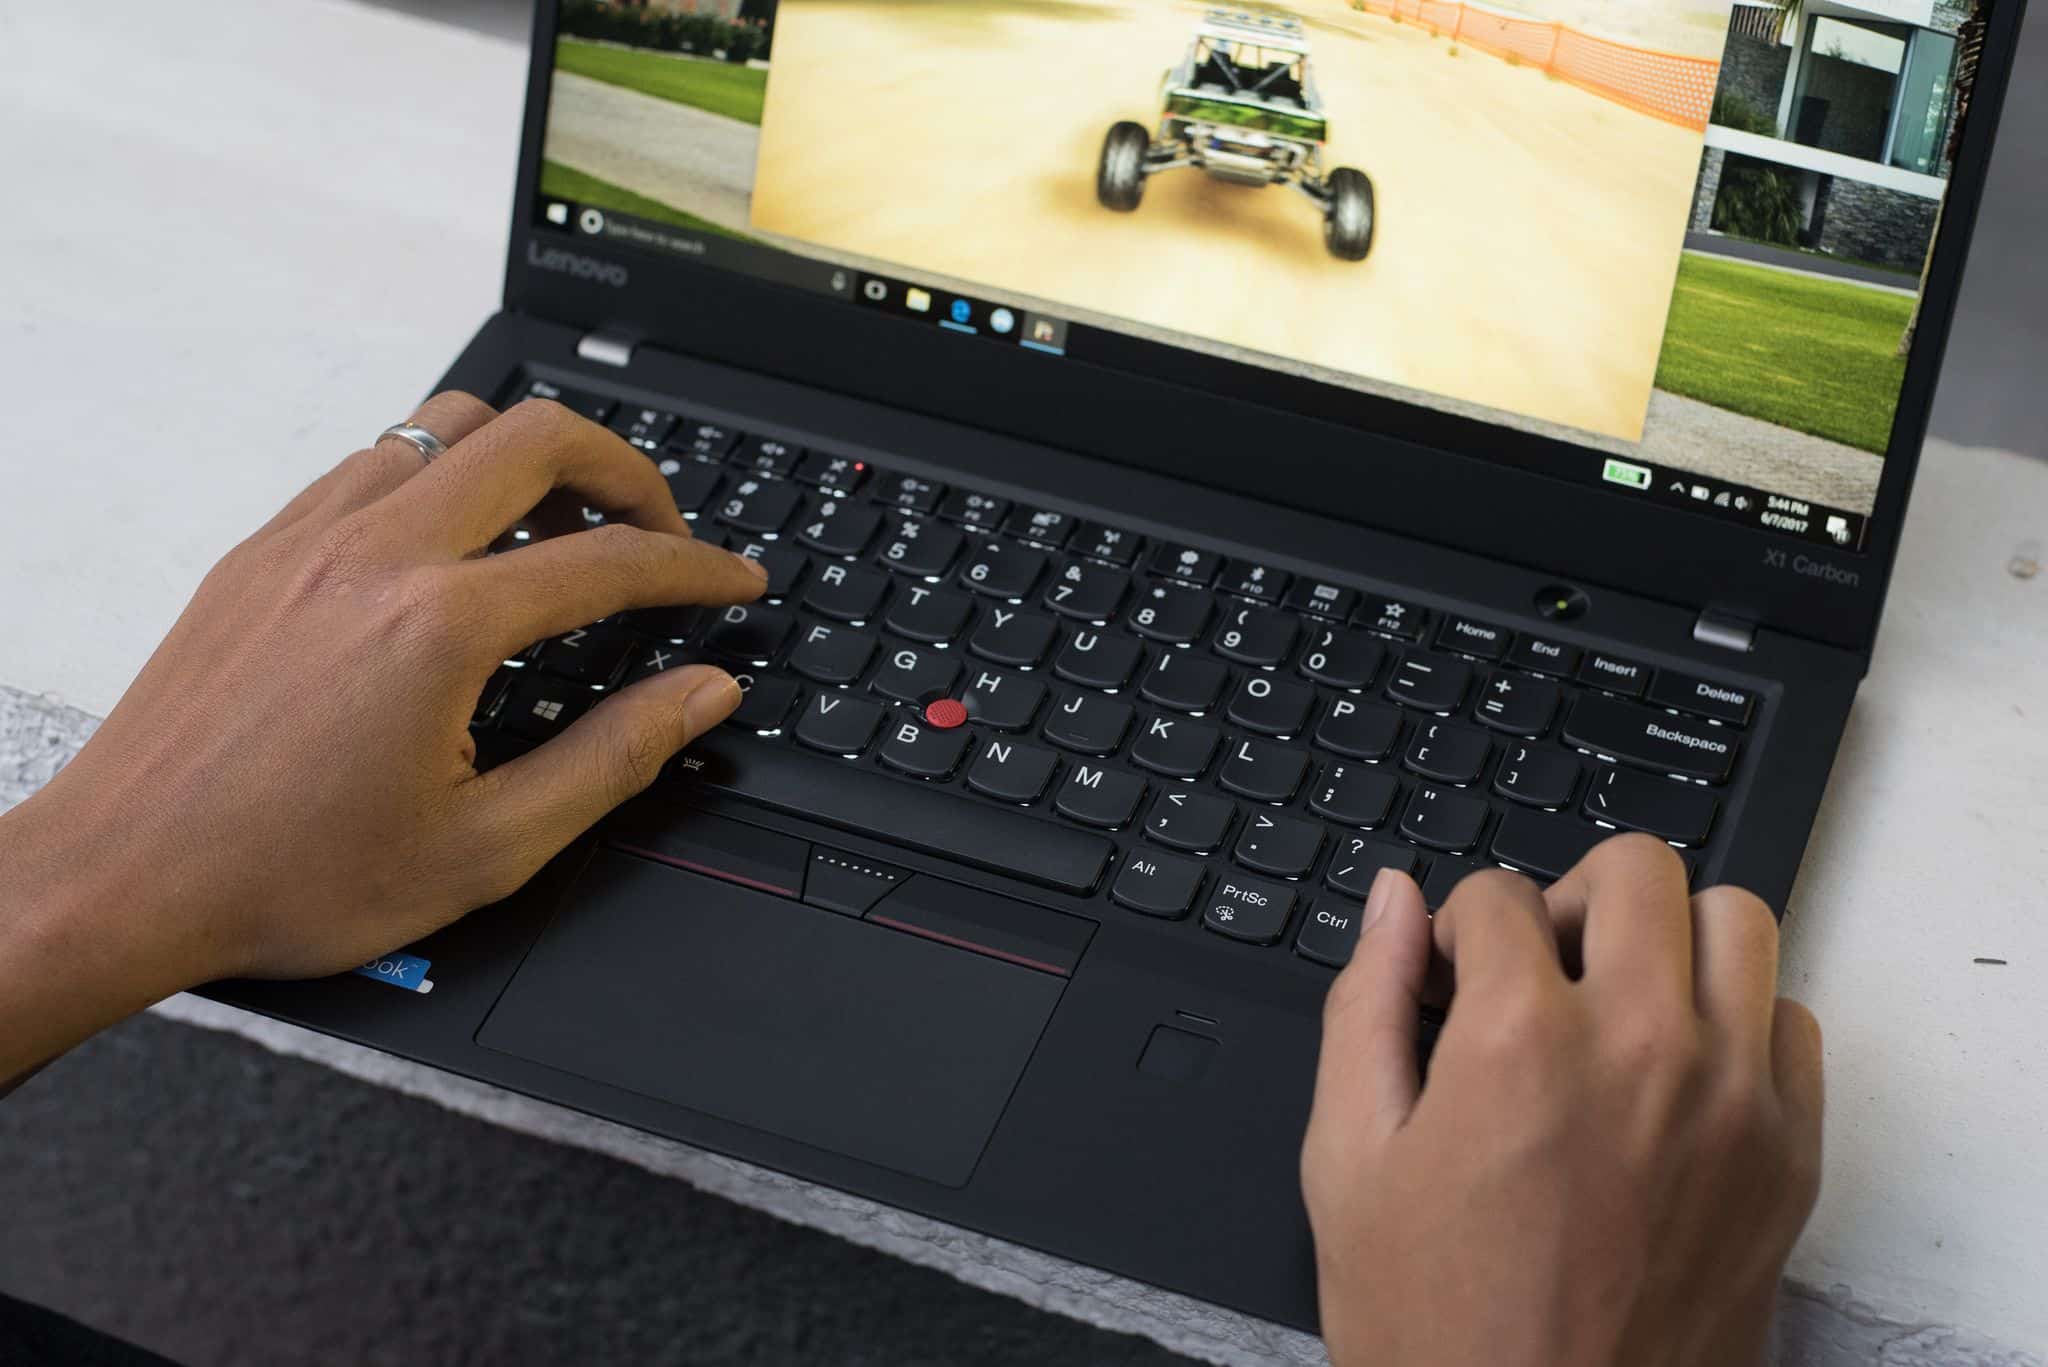
Q: How do I take a screenshot on my Lenovo ThinkPad?
A: There are several ways to take a screenshot on your Lenovo ThinkPad, including using the keyboard shortcut (Windows key + Print Screen) and using the Snipping Tool.
Q: What is the keyboard shortcut for taking a screenshot on a Lenovo ThinkPad?
A: The keyboard shortcut for taking a screenshot on a Lenovo ThinkPad is the Windows key + Print Screen.
Q: What is the Snipping Tool and how do I use it to take a screenshot?
A: The Snipping Tool is a built-in utility in Windows 10 that allows you to take screenshots with greater flexibility. To use it, simply launch the Snipping Tool, select the type of snip you want to take (free-form, rectangular, window, or full-screen), and use your cursor to select the area of the screen you want to capture.
Q: Why is my keyboard shortcut for taking a screenshot not working on my Lenovo ThinkPad?
A: If the keyboard shortcut for taking a screenshot is not working, there could be several reasons, including a malfunctioning Windows key, a malfunctioning Print Screen key, or a software or setting that is blocking the shortcut.
Q: Why is my Snipping Tool not working on my Lenovo ThinkPad?
A: If the Snipping Tool is not working, it could be due to a software or setting that is blocking it, an outdated Snipping Tool, or a Snipping Tool that needs to be restarted.
Q: Why are my screenshots not being saved on my Lenovo ThinkPad?
A: If your screenshots are not being saved, it could be due to a lack of storage space, a software or setting that is blocking the screenshots from being saved, or the screenshots being saved to the wrong location.
By following these solutions, you should be able to take screenshots on your Lenovo ThinkPad with ease, whether you’re using the keyboard shortcut or the Snipping Tool.
- SEO Powered Content & PR Distribution. Get Amplified Today.
- Platoblockchain. Web3 Metaverse Intelligence. Knowledge Amplified. Access Here.
- Source: https://www.techpluto.com/how-to-screenshot-on-a-thinkpad/
- 10
- a
- Able
- allows
- and
- AREA
- being
- blocking
- built-in
- capture
- complete
- could
- Flexibility
- following
- from
- greater
- guide
- How
- How To
- in
- Including
- IT
- Key
- Lack
- launch
- Lenovo
- location
- needs
- plato
- Plato Data Intelligence
- PlatoData
- reasons
- restarted
- Screen
- screenshots
- setting
- several
- should
- simply
- Software
- Solutions
- Space
- storage
- Take
- taking
- The
- The Area
- to
- tool
- use
- utility
- ways
- What
- What is
- whether
- windows
- working
- Wrong
- Your
- zephyrnet