Siwakama Shrine is a located within The Legend of Zelda: Tears of the Kingdom’s Gerudo Desert region.
Our guide will help you find the Siwakama Shrine location, solve its puzzles, and walk you through the “Moving the Spheres” puzzle to collect the chest and Light of Blessing.
When you’re done, our shrine locations page or interactive Hyrule map can direct you toward something else to do.
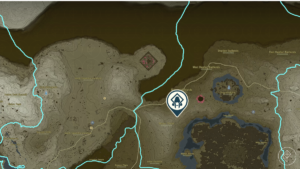
Siwakama Shrine location
Siwakama Shrine shrine is found within the Gerudo Desert region. It’s located on the eastern edge of the desert and is accessible by foot. Its exact coordinates are: (-2446, -3346, 0041).
Siwakama Shrine, ‘Moving the Spheres’ walkthrough
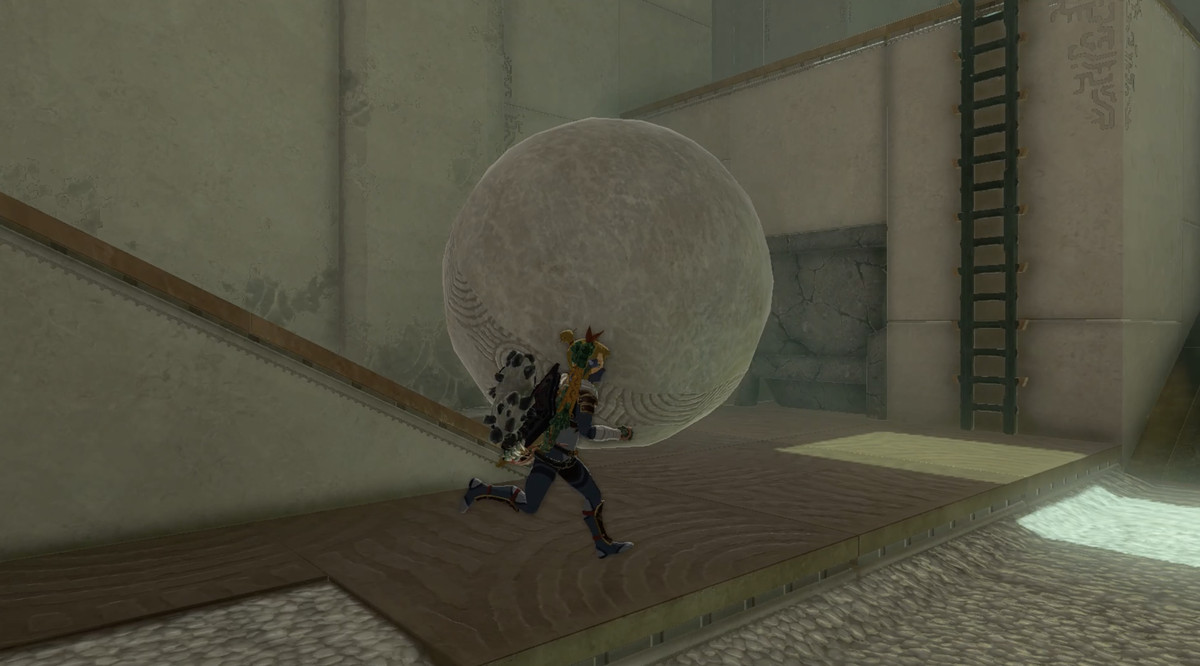
As the challenge suggests, this shrine will have you primarily working with ball-related puzzles. All of the puzzles will have you situated giant balls as platforms that you can run and jump across.
1. You will start in a room that has a path forward with a gap in it. If you look across to the other side of the room, you’ll see a giant ball. Use Ultrahand to grab it and place it in the middle of the path.
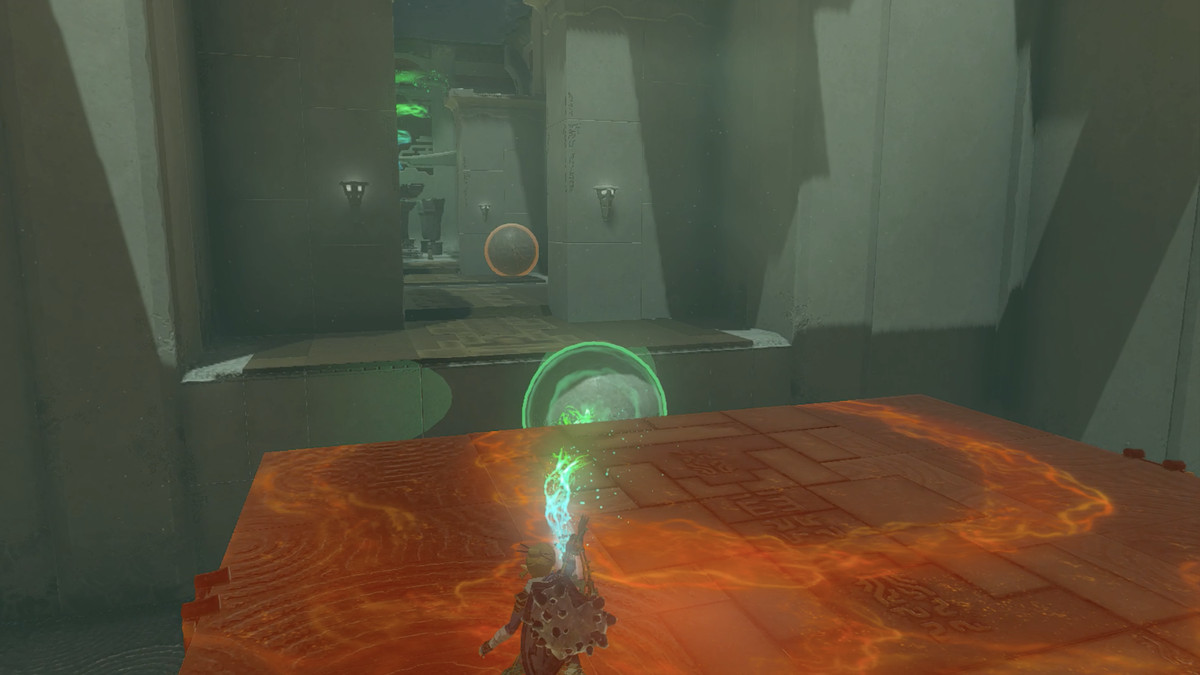
2. You now have that giant ball in the middle of the path. Use it to run and jump across to the other side.
3. Enter the next room and you will see that there is a gap you need to cross again and another ball. This time, the floor between the gaps is slanted so you can’t set the ball down. To solve this you will need to make a path using Ultrahand and then Recall.
4. Before we complete this room, here is a chest you can get. Position Link so that he’s looking towards the end of the shrine. Facing that direction, jump down to the lower area and walk to the left side of the room. (You’ll know you’re in the right spot when you see a ladder and a cube-shaped stone next to the left of the ladder.)
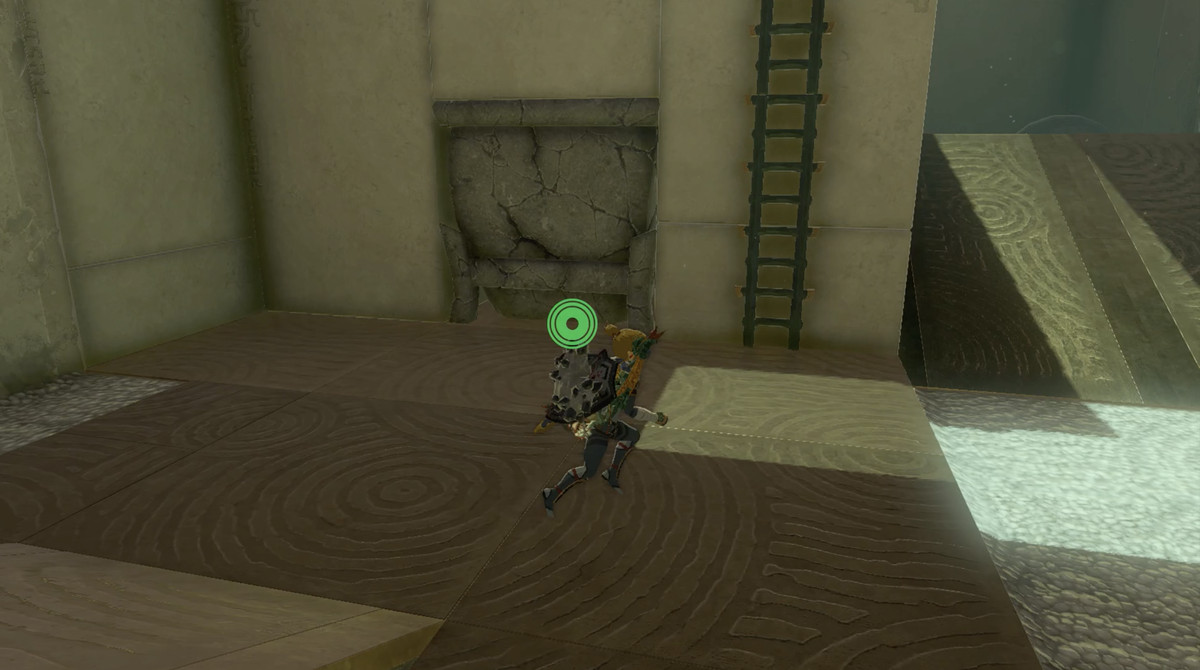
5. Grab the nearby giant ball and set it at the top of the ramp that sits directly across from the cube-shaped rock. The rock will roll down and destroy the rock. You can now see a chest. Open it and collect five bomb flowers.
6. We can now continue to solve the puzzle in this room. Use the ladder to climb back up to the platform you jumped down from.
7. Using Ultrahand, grab the ball and hold it in a middle spot, allowing you to jump across. As you do this, make sure you hold the ball in the same place for a few seconds with Ultrahand and then let go. The ball will roll down.
8. Now use Recall on the ball that rolled down. Link’s Recall ability will bring the ball back up to the spot where you previously held it with Ultrahand. Jump across while the ball is in the right spot. If you held it in one place with Ultrahand like in the previous step, this will give you some time to get across.
9. You will find yourself in the third and final room. This time around, the gap is much wider than the previous rooms, but you will use a similar trick to the last room to get across.
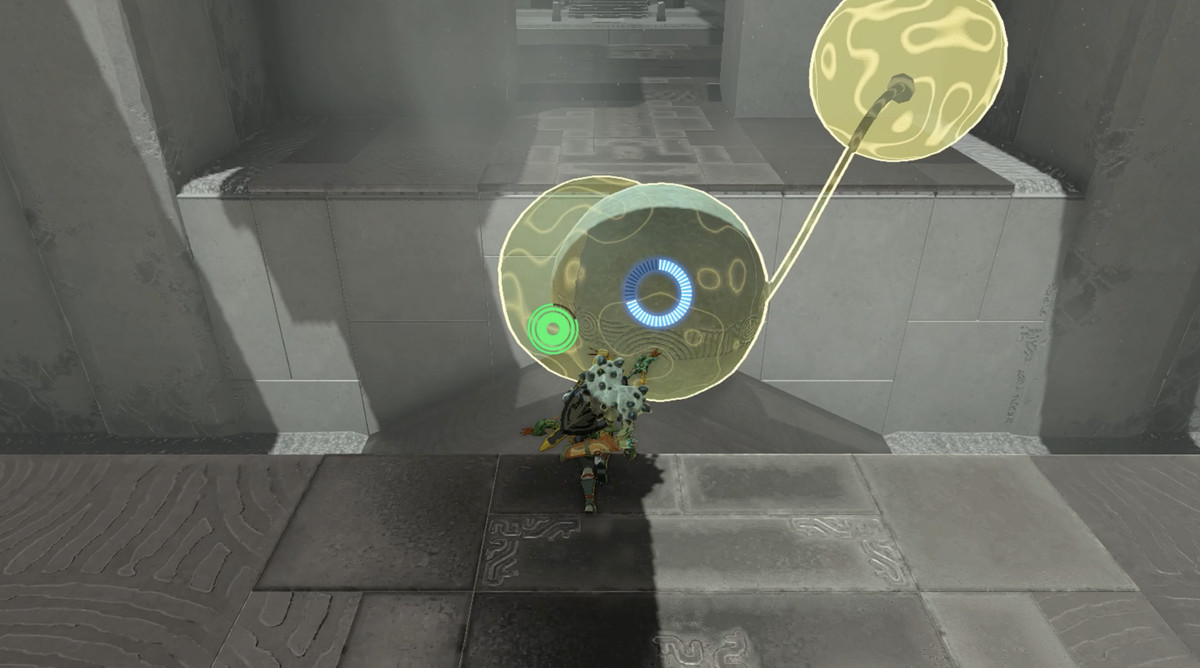
10. Using Ultrahand, pick up the giant ball on the ground. While still using Ultrahand, you need to move the ball so that it slowly moves the ball from the opposite side of the room over to Link. Then drop the ball, and once again, use Recall.
11. The ball will now reverse its course. Jump on to ride the ball to the other side of the room. You can now collect the Light of Blessing.
- SEO Powered Content & PR Distribution. Get Amplified Today.
- PlatoAiStream. Web3 Data Intelligence. Knowledge Amplified. Access Here.
- Minting the Future w Adryenn Ashley. Access Here.
- Buy and Sell Shares in PRE-IPO Companies with PREIPO®. Access Here.
- Source: https://www.polygon.com/zelda-tears-of-the-kingdom-guide/23749941/siwakama-shrine-solution-puzzle-chest
- :has
- :is
- :where
- $UP
- a
- ability
- accessible
- across
- again
- All
- Allowing
- an
- and
- Another
- ARE
- AREA
- around
- AS
- At
- back
- ball
- before
- between
- bomb
- bring
- but
- by
- CAN
- Can Get
- challenge
- climb
- collect
- complete
- continue
- course
- Cross
- DESERT
- destroy
- direct
- direction
- directly
- do
- done
- down
- Drop
- eastern
- Edge
- else
- end
- Enter
- Ether (ETH)
- facing
- few
- final
- Find
- Floor
- Foot
- For
- Forward
- found
- from
- gap
- gaps
- get
- giant
- Give
- Go
- grab
- Ground
- guide
- Have
- Held
- help
- here
- Hidden
- hold
- HTTPS
- if
- image
- in
- IT
- ITS
- jump
- Kingdom
- Know
- ladder
- Last
- left
- like
- LINK
- located
- location
- Look
- looking
- make
- Middle
- move
- moves
- much
- Need
- next
- Nintendo
- now
- of
- on
- once
- ONE
- open
- opposite
- or
- Other
- our
- over
- page
- path
- pick
- Place
- platform
- Platforms
- plato
- Plato Data Intelligence
- PlatoData
- Polygon
- position
- previous
- previously
- primarily
- puzzle
- Puzzles
- Ramp
- region
- reverse
- Rewind
- Ride
- right
- Rock
- Roll
- Rolled
- Rolling
- Room
- Rooms
- Run
- same
- seconds
- see
- set
- side
- similar
- sits
- Slowly
- So
- SOLVE
- some
- something
- Spot
- start
- Step
- Still
- STONE
- Suggests
- than
- that
- The
- then
- There.
- Third
- this
- Through
- time
- to
- top
- toward
- towards
- use
- using
- via
- walkthrough
- we
- webp
- when
- while
- wider
- will
- with
- within
- working
- you
- yourself
- zephyrnet