After having talked to you in detail about all the Lies of P main bosses, in this article we have decided to talk to you about the optional Lies of P bosses that you can encounter during your adventure. Obviously, as you can already guess from the name of the article, these are bosses that you can decide to fight or not, as they are not necessary to complete the main story of the game. However, in case you want to tackle these Lies of P bosses, in this article, we will give you some useful tips to do so.
Lies of P Survivor
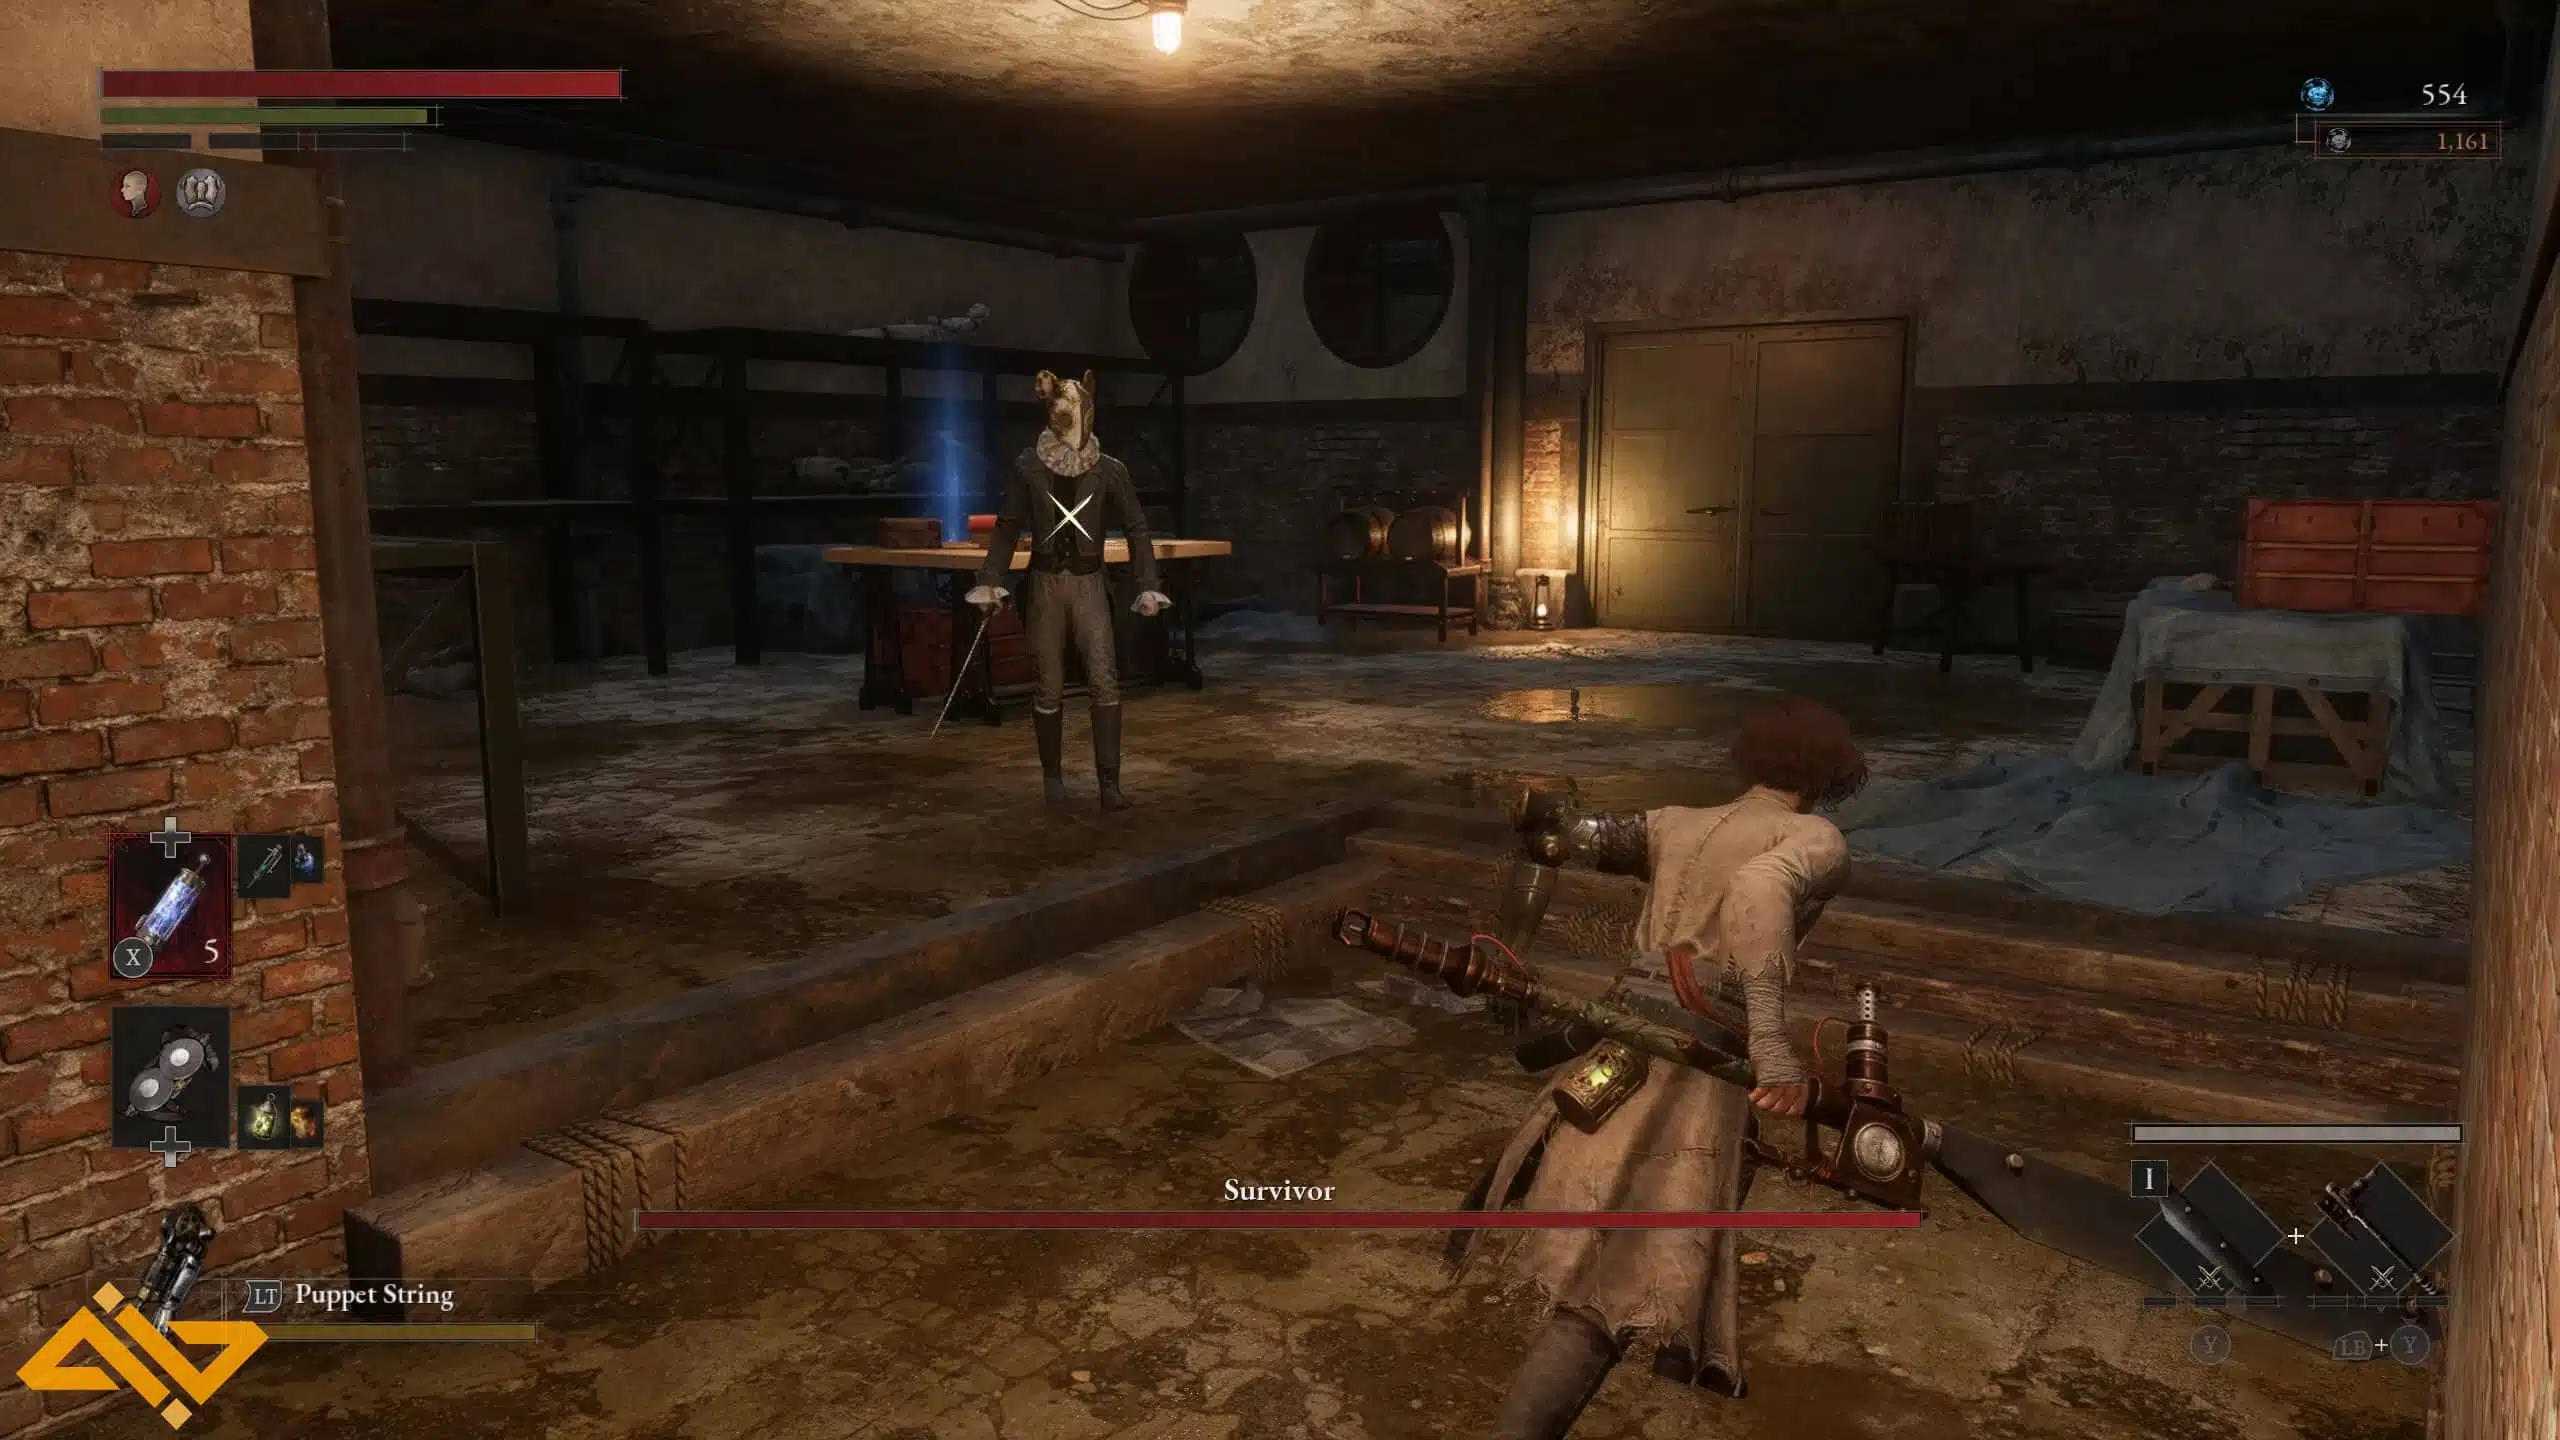
This is the first of the optional Lies of P bosses that you can encounter during your adventure. We won’t lie and tell you that the hardest part of this boss fight isn’t the fight itself, but finding the exact place where it happens. Obviously, if you don’t reach this place, you won’t be able to fight this boss, so we advise you to follow our guide step by step.
The easiest place to find this boss is to start from the Venigni Works Control Room Stargazer. From here, jump off the platform and head right to go through the door. At this point, you will see a door on the left – that’s where you need to go. Unfortunately, however, there will be enemies garrisoning it, it is up to you to decide whether to kill them or not. At this point, go down the ladder to enter a secret room.
As for the boss itself, it is an extremely fast enemy. Our advice is to be very careful about his combos and to move as much as possible. Often, in fact, he will find himself in difficulty and will not be able to reach you, which will allow you to catch your breath. During his combos, he will expose his back as a weak point: here you will have to be quick and hit him to inflict a lot of damage.
Lies of P Puppet of the Future
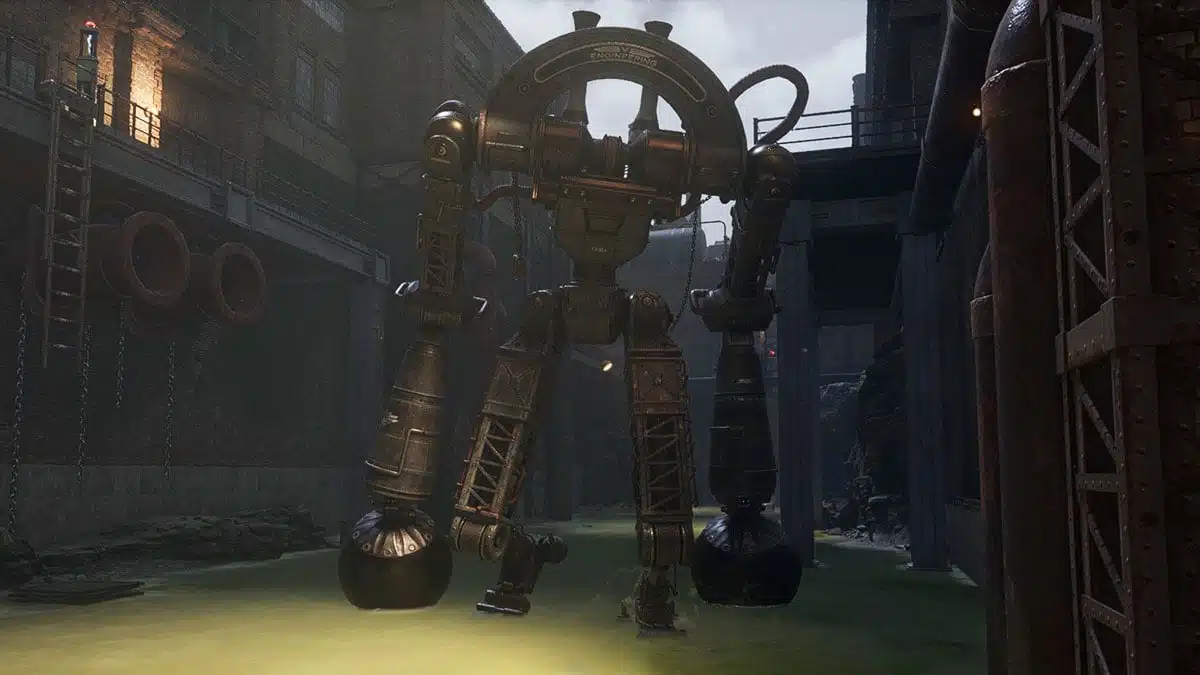
This boss can be found in the center of a poisonous water trench in the center of Venigni Works. He is quite large in stature, so you will hardly miss him. However, the good news is that the boss itself is quite simple, as long as you have removed the poisonous water, otherwise, it will be more difficult to fight.
To ensure that his arena is no longer filled with poison, there are some steps you will have to follow. First of all, in that same area, you will be able to see both Black Cat and Red Fox. Head towards them and you will see a passage nearby. Enter and follow the passage (watch out for an enemy that is shortly after the entrance on the left) until you come to a room with a pipe on your left.
Follow this pipe to the end (but watch out for the enemies) and, at the end of the corridor, an enemy will suddenly come out of a wall. Before defeating him, we advise you to open the door that acts as a shortcut, so that, if you die, you can use it to get to this place immediately.
At this point, all you have to do is kill the enemy in question and, once defeated, you can pull the lever that allows you to dissolve the poison. Once this is done, you can return to the previous boss and defeat him. At this point, the boss fight will be very simple to complete, so there is no real strategy to follow. Our advice is to pay attention to the attack he makes using both feet and to move as much as possible so as not to give reference points.
Lies of P The Atoned
The Toned is located near the cable car in Moonlight Town. This boss is very agile and fast, so it is quite easy to take damage, but there are some precautions you can follow to get the upper hand. Our advice is to use a slow but high-damage weapon and to use fire, since this boss is vulnerable to this element. Be careful of her attacks and try to dodge them until you get a chance to hit her.
However, there is also a way to avoid this boss fight entirely. If during your adventure you have also spoken to the other Stalkers, you will have a very specific choice available as a dialogue option that will allow you to avoid the clash. If you don’t intend to fight her, then, all you have to do is select the “Give the Stalker’s greeting” dialogue option.

Lies of P White Lady
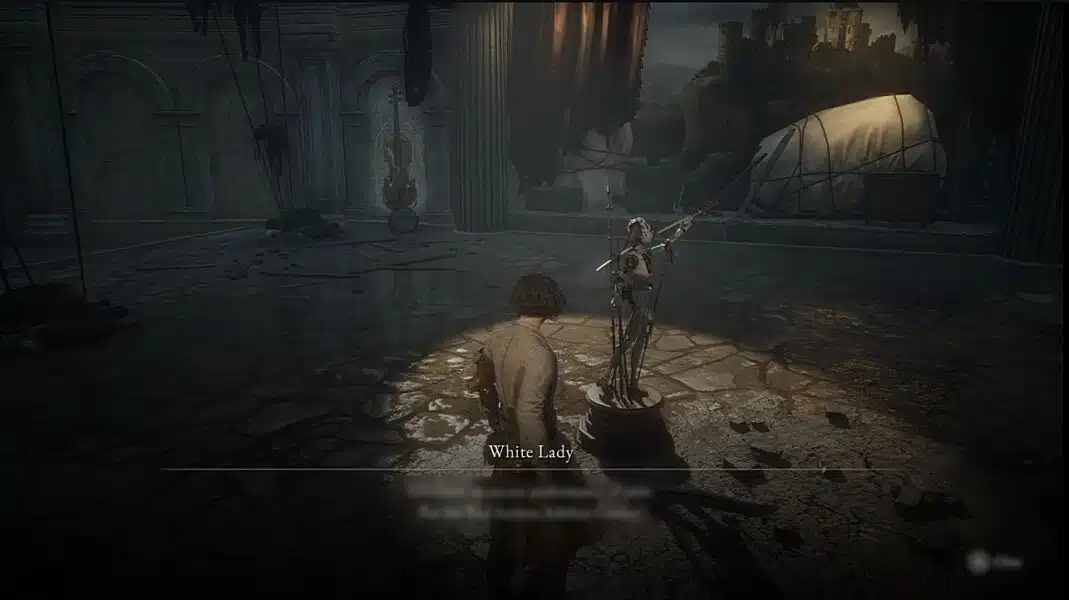
Once you get the key to Rosa Isabelle Street from Antonia, not far from the first Stargazer will be this boss. However, unlike the other bosses in the game, to start this boss fight you will first have to interact with the rotating puppet until the option to investigate it appears. At this point, the White Lady will be summoned and the battle will begin.
This boss’s attacks are mostly very fast shots, so you will have to be particularly careful with the timing. As if that wasn’t enough, White Lady is also able to parry the blows you land, ensuring that your character will be stunned. Our advice, once again, is to try to go behind her to hit her from that position and inflict greater damage. Furthermore, it is also advisable to make use of items such as Throwing Cell and Thermite to inflict even more damage.
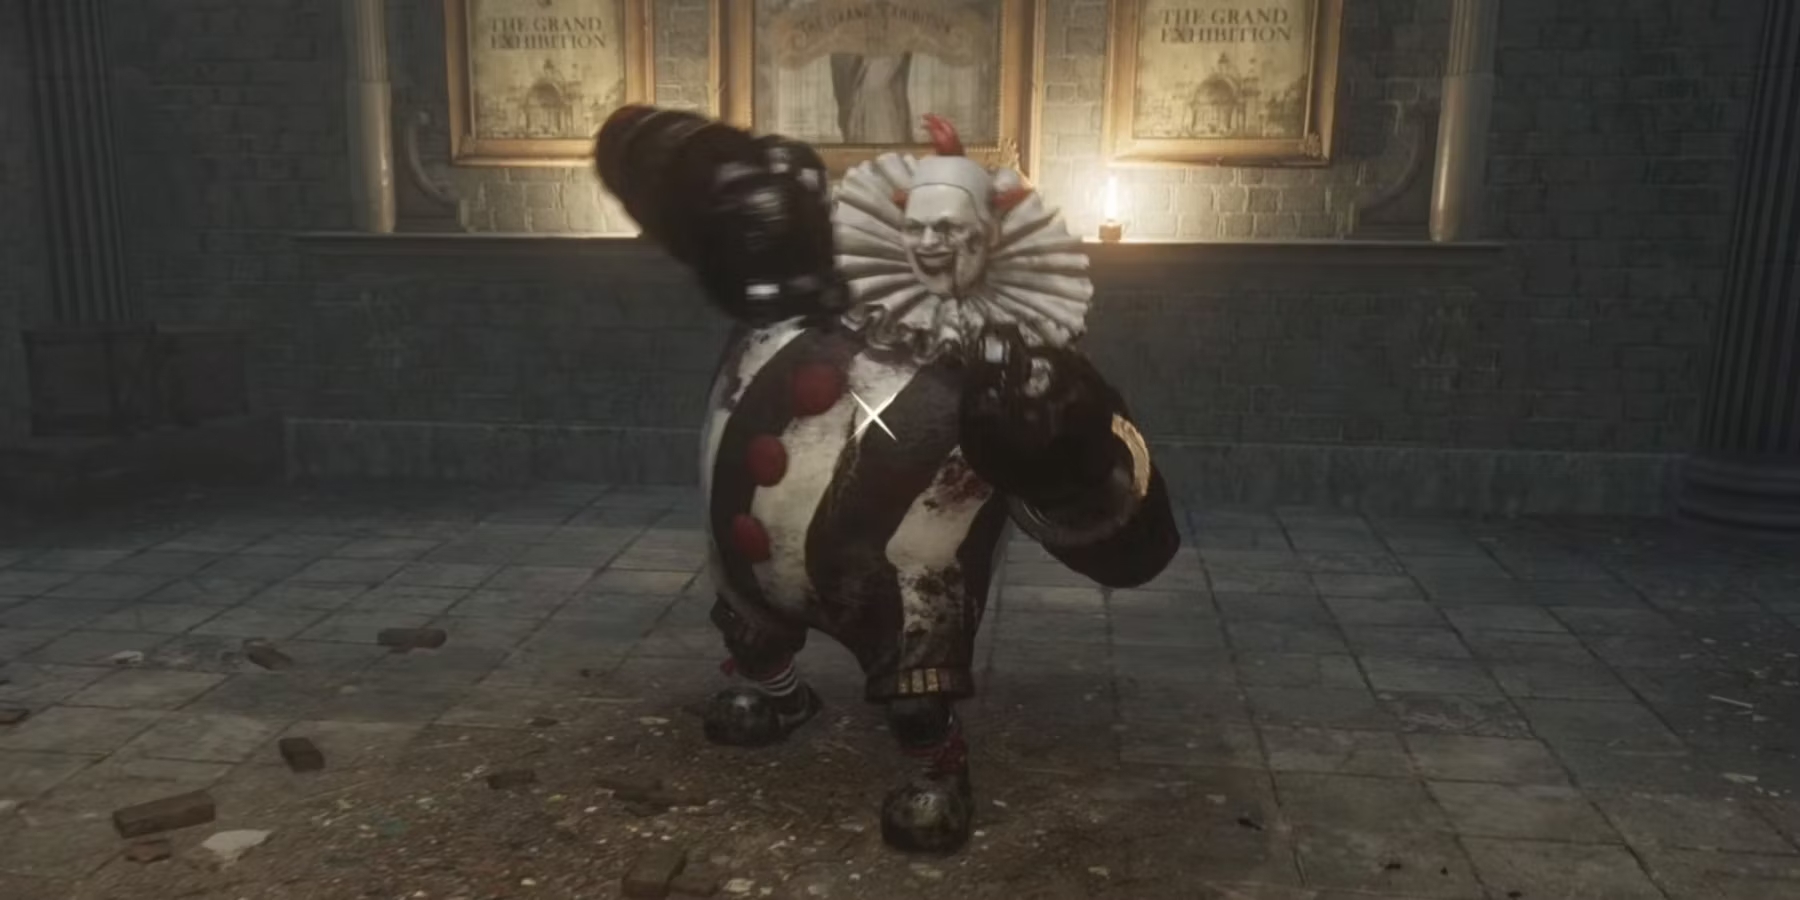
Lies of P Mad Clown Puppet
This boss is only available after you defeat White Lady. You will meet him just before reaching the entrance of Estella Opera House. Since this is an optional boss, you have the possibility to skip it completely and directly activate the Mansion Stargazer. At that point, you can decide to go back and face it.
Despite being a mini-boss, the Mad Clown Puppet has many types of attacks available to which you must pay particular attention if you don’t want to get the worst of it. Our advice is to keep at a moderate distance and pay particular attention to the move in which he will throw his arm: in that case, you will have to run to the side to avoid it. Despite its great variety of moves, however, it is a fairly easy boss fight and with a little patience you will be able to finish it without too many problems.
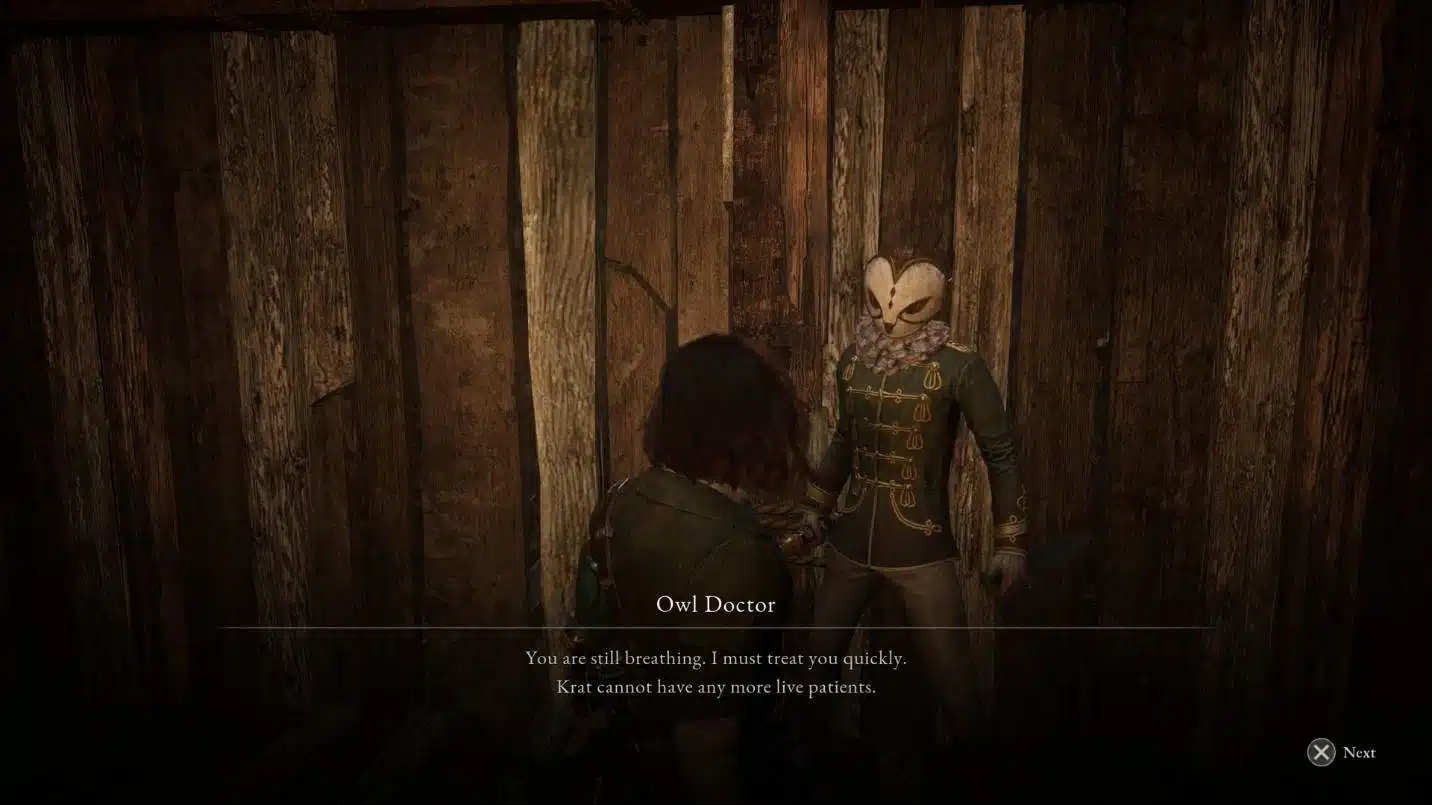
Lies of P Owl Doctor
This boss is located in the Barren Swamp area, precisely in the leftmost part. Once you enter this area, keep left and stay away from the water to avoid taking damage. Once you encounter this enemy, you can fight him. Luckily for you, he doesn’t have a large arsenal of moves at his disposal, so you shouldn’t have too many problems.
Our advice is to pay attention to the move in which he starts swinging his axe, as it can inflict a large amount of damage. For the rest, if you proceed with caution and try to dodge or parry his attacks, you shouldn’t encounter a fight that is too difficult to complete.
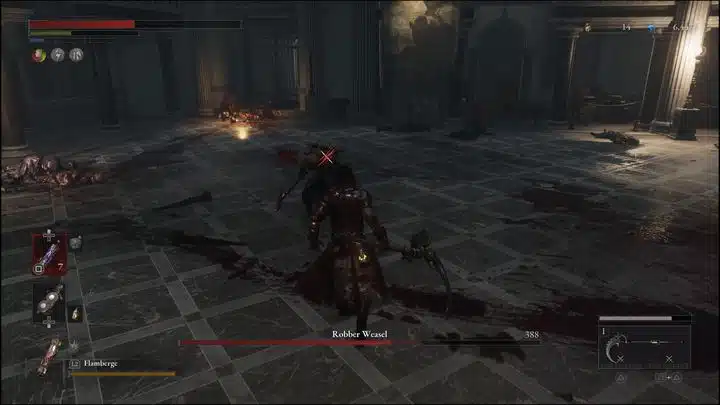
Lies of P Robber Weasel
This boss is found in Krat Central Station. The easiest way to get to his location is to start from the Barren Swamp Nest Stargazer. At this point, enter the tunnel that is right in front of the checkpoint and continue until you reach a staircase. Go down and continue straight until you reach a green metallic door. Go in there and continue until you reach another ladder. Go up and head to the right.
In the center of the room is a disused train with an open door that allows you to go to the other side. Go through it and enter the room on the left. Now, take the stairs in the room and you will come to another Stargazer. From this location, continue straight, and at the end of the room, you will notice some boxes. Destroy them to reveal a secret passage that will lead you to the other side of the room. Continue until you see more stairs that will allow you to go down.
At this point, reach the platform and enter the room on the right. As soon as you enter the room, go up the stairs and you will find yourself inside a narrow corridor. This corridor will lead you to a large room, where you will find the boss and you can fight him.
From the point of view of the boss itself, it is one of the simplest Lies of P bosses to face. His attacks are fairly basic and are not very difficult to parry and/or dodge. Consequently, there is no precise strategy to follow, you just need to have good timing and you will be able to defeat the boss without too many problems.
Lies of P Walker of Illusions
To be able to find the location where this boss is located, you will have to be at least level 9, so try to level up as soon as possible, also following our guide in this regard. To reach the Abandoned Apartment, you need to head towards Collapsed Street. Once you arrive at the Krat Central Station Stargazer, go to the right to find a staircase that will allow you to enter the corridor of the apartment. Enter the door on the right and follow the path until you come to another ladder near the wooden pillar. Climb the ladder and you will find this boss in the attic, in the central room.
This boss consists of two phases. In the first phase, he will make use of three main attacks that can be parried with the right timing. Also, in this case, our advice is to position yourself behind the boss to hit him from that position and inflict greater damage. Once you have taken half the boss’s health, the second phase will begin. During it, the boss will summon a clone of herself that might give you some trouble. Our advice, therefore, is to focus on the clone before hitting the actual boss. By doing so, you will have a greater chance of being able to win this fight.

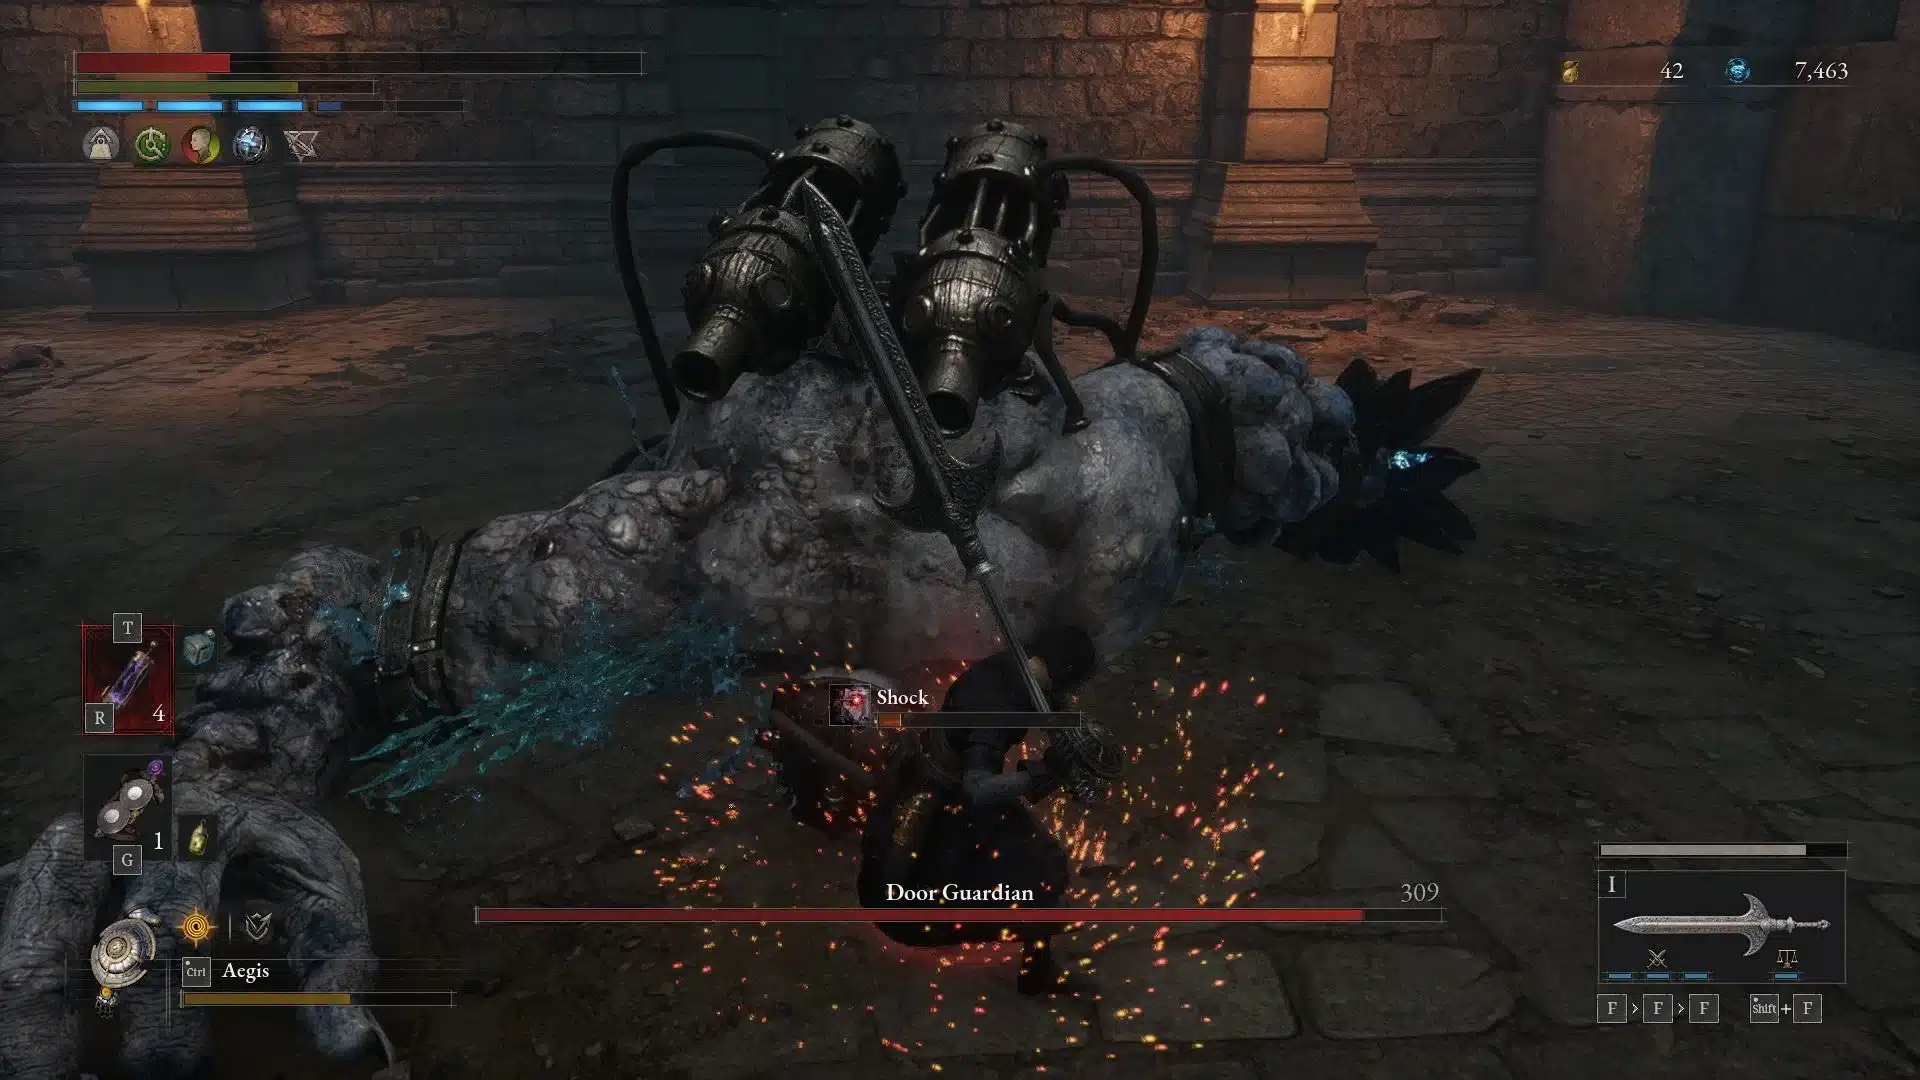
Lies of P Door Guardian
This mini-boss is found at the bottom of Arche Abbey. He is an enemy very similar to Champion Victor in terms of his size, but he will need an ad hoc strategy to be defeated. In fact, the first thing you’ll surely notice is the fact that his legs suffer almost no damage. The strategy to follow, therefore, is to hit the exposed part of his leg until he enters a stagger state and you can then carry out a powerful attack.
In the meantime, obviously, you will have to pay attention to his attacks, which are quite similar to those of Champion Victor. If you are good at dodging blows, you will be happy to know that they can all be dodged, so our advice is definitely to make good use of this technique. Once you have the chance, hit him to deal damage and defeat him.
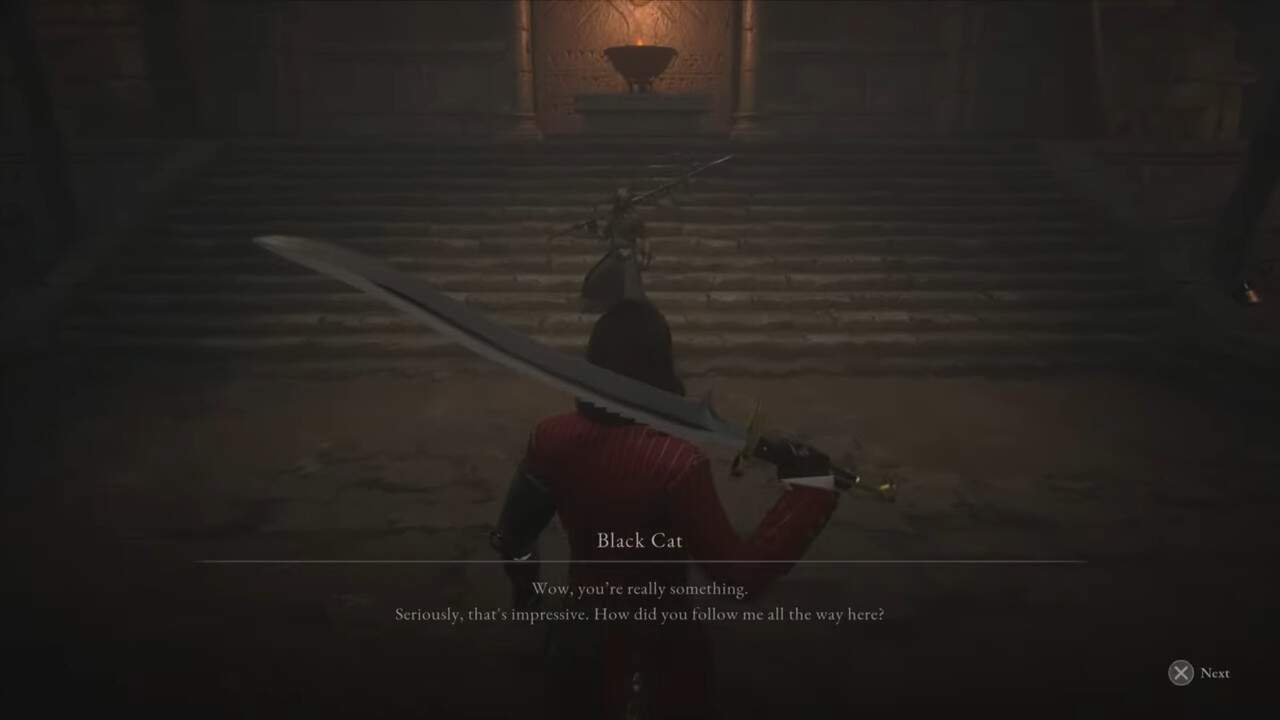
Lies of P Black Cat
This is one of the Lies of P bosses that you can decide to fight or not, it all depends on the answers you decide to give. This character can be encountered in different areas of the game. The first time you meet him you will find yourself in the Union Workshop Culvert. Afterwards, you can meet him in the Malum District, near the Path of the Pilgrim Stargazer. Finally, you will also encounter him in the Grand Exhibition. Here, depending on what you decide, he will become hostile or not the next time you meet him.
Fortunately for you, in case he were to become hostile, it is not a very complex boss fight to complete, on the contrary. Like all bosses of this genre, the most effective strategy is to position yourself behind him and hit him from there. This way, you will be able to stagger him and you will have the opportunity to hit him by dealing more damage.
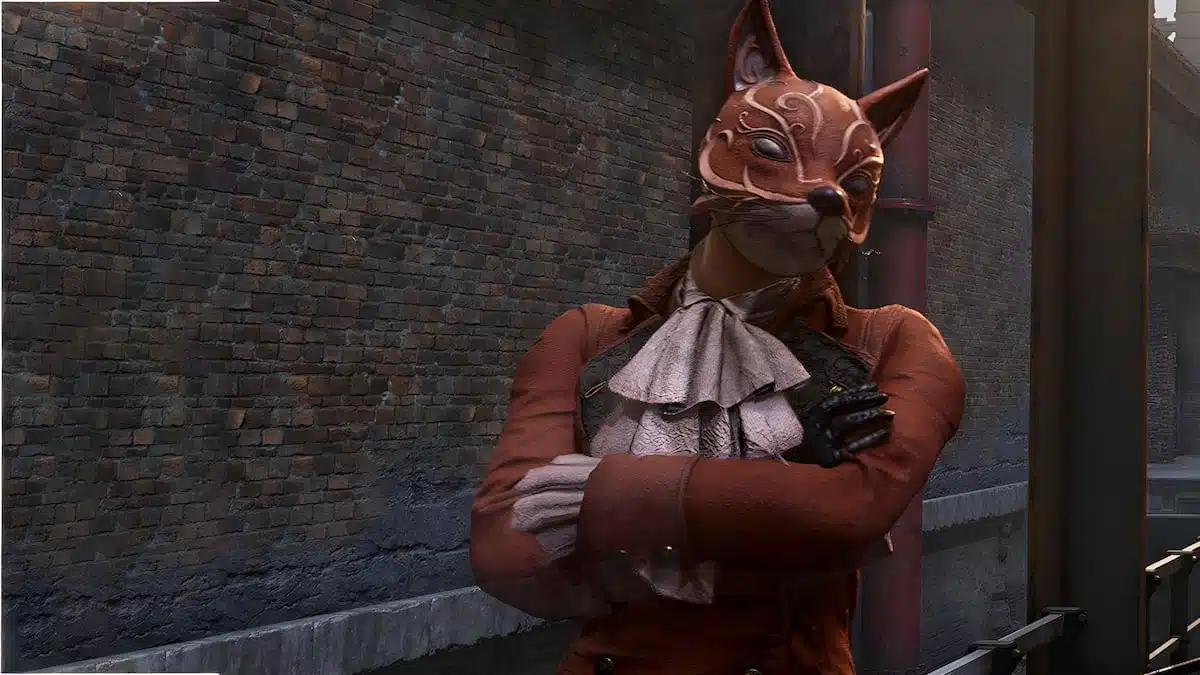
Lies of P Red Fox
As with Black Cat, Red Fox cannot be fought until you are deep into the story of Lies of P. And, as with the previous boss, you can decide whether to fight her or not based on what you decide to answer her during the dialogues you have with her. In fact, if you choose not to give her a Gold Coin Fruit, you will have the opportunity to start the fight.
This Lies of P boss is also not very difficult to deal with, although she will need a little more strategy than her brother. The winning strategy is to give yourself enough time and space to dodge her attacks, by doing so you will be able to avoid being hit and counterattack as soon as you have the chance.
- SEO Powered Content & PR Distribution. Get Amplified Today.
- PlatoData.Network Vertical Generative Ai. Empower Yourself. Access Here.
- PlatoAiStream. Web3 Intelligence. Knowledge Amplified. Access Here.
- PlatoESG. Carbon, CleanTech, Energy, Environment, Solar, Waste Management. Access Here.
- PlatoHealth. Biotech and Clinical Trials Intelligence. Access Here.
- Source: https://estnn.com/lies-of-p-bosses-all-optional-bosses-listed/
- :has
- :is
- :not
- :where
- ][p
- $UP
- 1800
- 9
- a
- Able
- About
- acts
- actual
- Ad
- Adventure
- advice
- advise
- After
- afterwards
- again
- agile
- All
- allow
- allows
- almost
- already
- also
- Although
- amount
- an
- and
- Another
- answer
- answers
- Apartment
- appears
- ARE
- AREA
- areas
- Arena
- ARM
- Arsenal
- article
- AS
- At
- attack
- Attacks
- attention
- available
- avoid
- away
- back
- barren
- based
- basic
- Battle
- BE
- become
- before
- begin
- behind
- being
- Black
- BOSS
- bosses
- both
- Bottom
- boxes
- Breath
- but
- by
- cable
- CAN
- cannot
- car
- careful
- carry
- case
- CAT
- Catch
- caution
- cell
- Center
- central
- champion
- Chance
- character
- choice
- Choose
- Clash
- climb
- Coin
- collapsed
- come
- complete
- completely
- complex
- Consequently
- consists
- continue
- contrary
- control
- damage
- deal
- dealing
- decide
- decided
- deep
- defeating
- definitely
- Depending
- depends
- Despite
- destroy
- detail
- dialogue
- Die
- different
- difficult
- Difficulty
- directly
- distance
- district
- do
- Dodge
- doesn
- doing
- don
- done
- Door
- down
- during
- easiest
- easy
- Effective
- element
- encounter
- end
- enemies
- enough
- ensure
- ensuring
- Enter
- Enters
- entirely
- entrance
- Even
- exhibition
- exposed
- extremely
- Face
- fact
- fairly
- far
- FAST
- Feet
- fight
- filled
- Finally
- Find
- finding
- finish
- Fire
- First
- first time
- Focus
- follow
- following
- For
- found
- fox
- from
- front
- Furthermore
- game
- genre
- get
- Give
- Go
- Gold
- good
- grand
- great
- greater
- Green
- guide
- Half
- hand
- happens
- happy
- Have
- having
- he
- head
- Health
- her
- here
- him
- his
- Hit
- hitting
- House
- However
- HTTPS
- if
- immediately
- in
- inflict
- inside
- intend
- interact
- into
- investigate
- isn
- IT
- items
- ITS
- itself
- jump
- just
- Keep
- Key
- Kill
- Know
- ladder
- lady
- Land
- large
- lead
- least
- left
- legs
- Level
- lie
- lies
- like
- Listed
- little
- ll
- located
- location
- Long
- longer
- Lot
- luckily
- Main
- make
- MAKES
- mansion
- many
- max-width
- meantime
- Meet
- might
- moderate
- more
- most
- mostly
- move
- moves
- much
- must
- name
- Near
- necessary
- Need
- Nest
- news
- next
- no
- Notice..
- now
- of
- off
- often
- on
- once
- ONE
- only
- open
- Opera
- Opportunity
- Option
- or
- Other
- otherwise
- our
- out
- owl
- part
- particular
- particularly
- passage
- path
- Patience
- Pay
- phase
- Pillar
- pipe
- Place
- platform
- plato
- Plato Data Intelligence
- PlatoData
- Point
- Point of View
- points
- poison
- position
- possibility
- possible
- powerful
- precise
- precisely
- previous
- problems
- proceed
- question
- Quick
- reach
- reaching
- real
- Red
- Removed
- REST
- return
- reveal
- right
- Room
- ROSA
- Run
- s
- same
- Second
- Secret
- see
- she
- Shortly
- shots
- side
- similar
- Simple
- since
- Size
- slow
- So
- some
- Soon
- Space
- specific
- spoken
- start
- starts
- State
- station
- stay
- Step
- Steps
- Story
- straight
- Strategy
- street
- such
- surely
- T
- tackle
- Take
- taken
- taking
- Talk
- tell
- terms
- than
- that
- The
- Them
- then
- There.
- therefore
- These
- they
- thing
- this
- those
- three
- Through
- Throwing
- time
- timing
- tips
- to
- too
- towards
- town
- Train
- trouble
- try
- tunnel
- two
- types
- unfortunately
- union
- unlike
- until
- use
- using
- variety
- very
- View
- Vulnerable
- walker
- Wall
- want
- wasn
- Watch
- Water
- Way..
- we
- webp
- were
- What
- whether
- which
- white
- will
- win
- winning
- with
- without
- Won
- wooden
- works
- workshop
- Worst
- you
- Your
- yourself
- zephyrnet