If you’ve ever found the fuzz and play of light on a broken television screen to be beautiful or at least captivating, then this article is for you.
The word glitch was first used at NASA to describe technical malfunctions that could occur during space missions. The word then came to be used more broadly as any technological error. In the late 20th century, artists began to see these errors not as problems, but as inspiration, exploring glitches to create a new form of art.
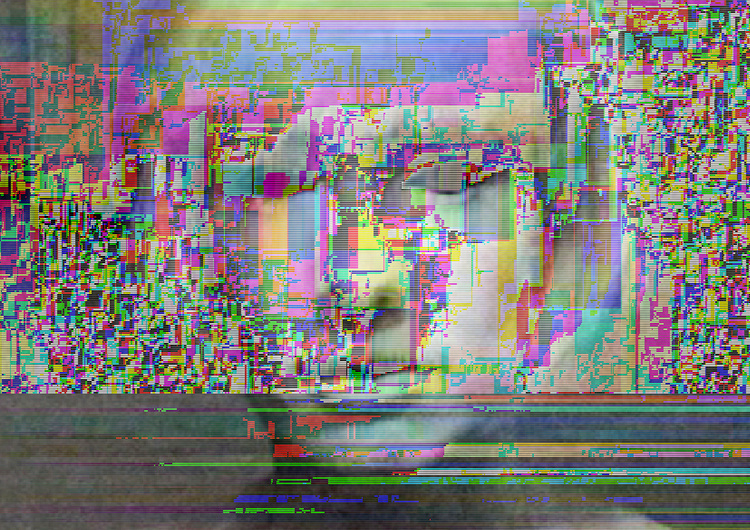
Glitch art is a uniquely tech-centric art form that is defined less by subject matter or even technique (per se) but instead by the intentional use of technological errors.
In this guide, we’ll demystify glitch art for you by showcasing a selection of exemplary glitch artists, then we’ll give you a quick and easy guide for your first pixel-sorting glitch.
A Woefully Incomplete List of Fantastic Glitch Artists
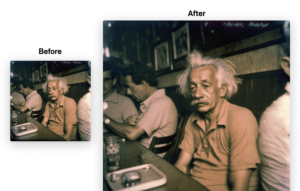
Rosa Menkman
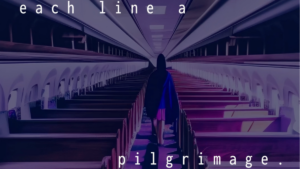
Rob Sheridan
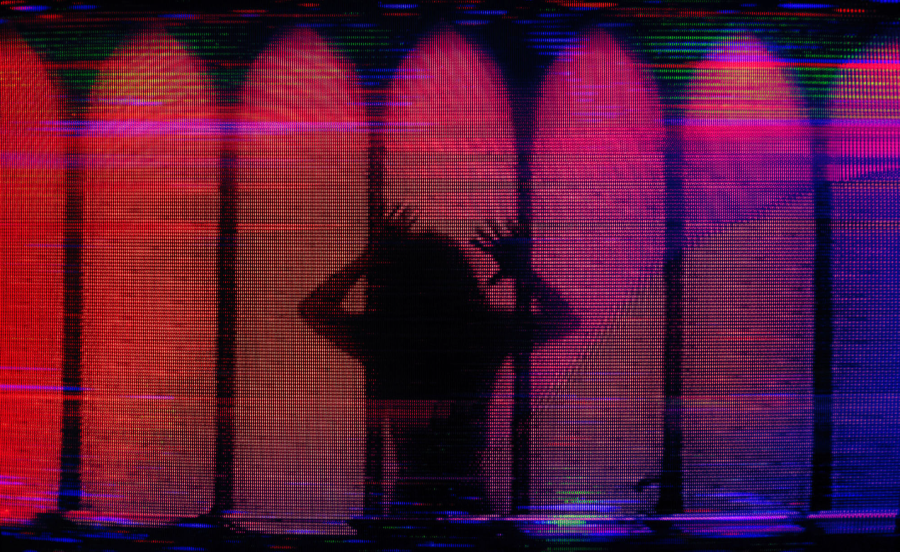
Listen to our interview with Rob Sheridan here.
sgt_slaughtermelon
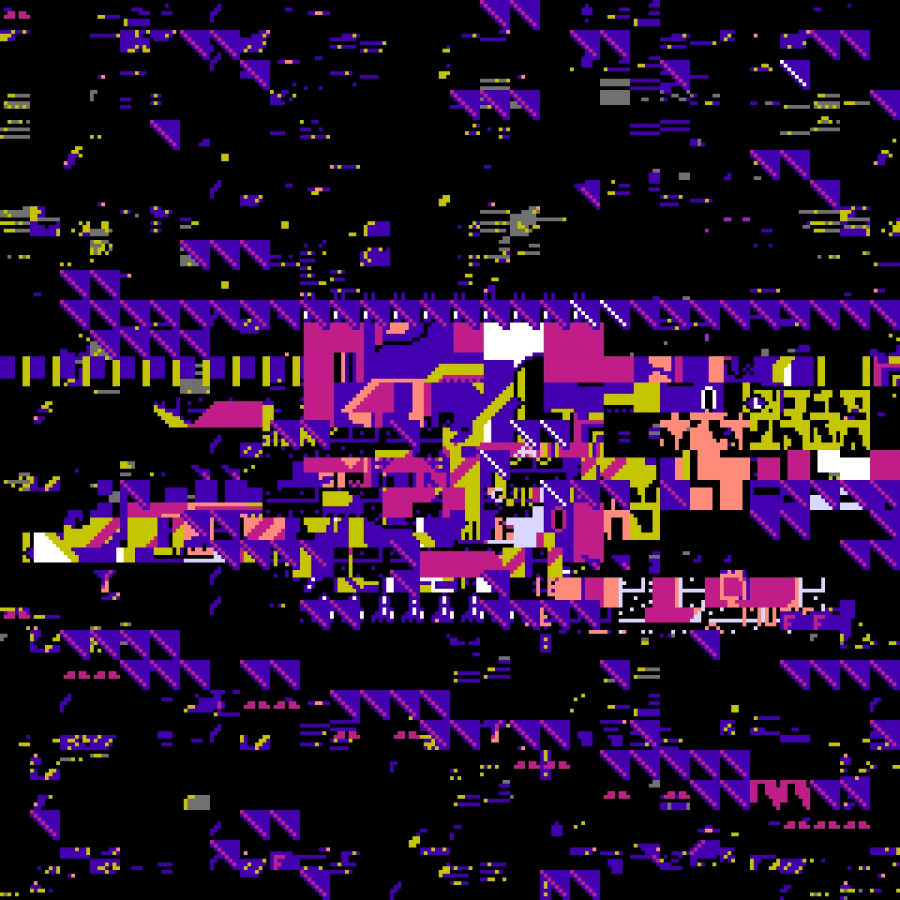
Listen to our podcast interview with sgt_slaughtermelon here.
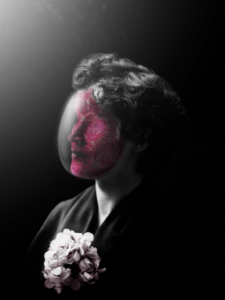
Dawnia Darkstone
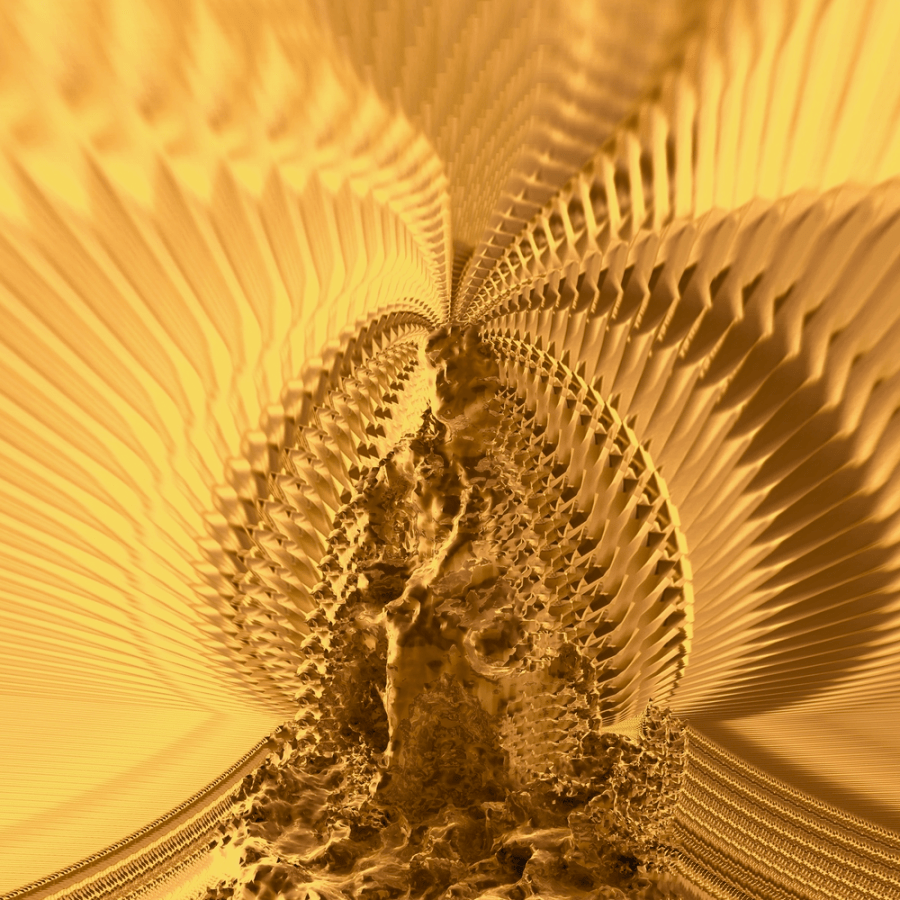
Listen to our podcast interview with Dawnia Darkstone here.
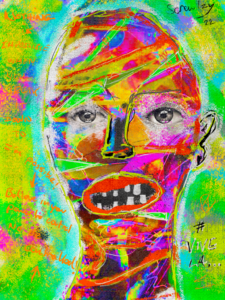
Kate the Cursed
Ras Alhague
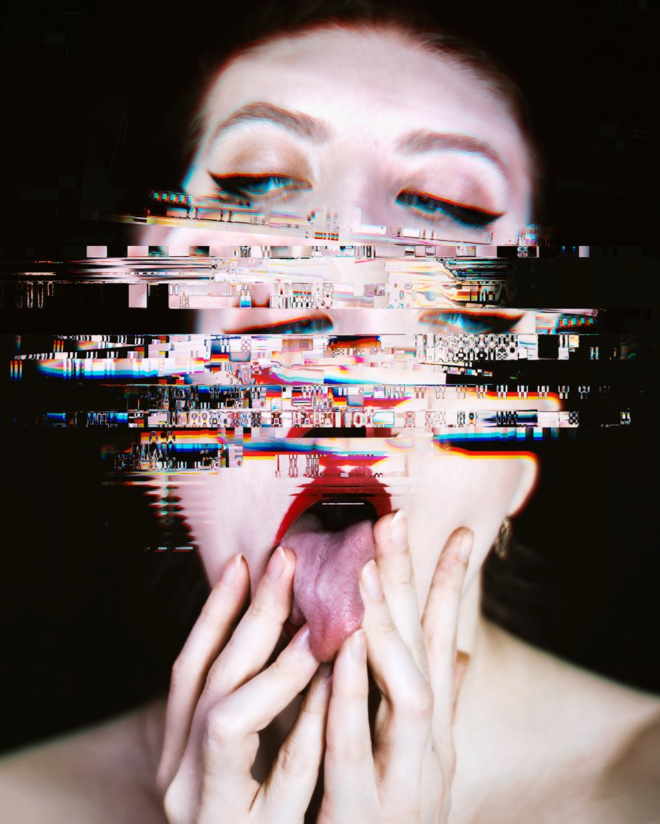
FiveTimesNo

Read our interview with FiveTimesNo here.
Sabato Viscounti
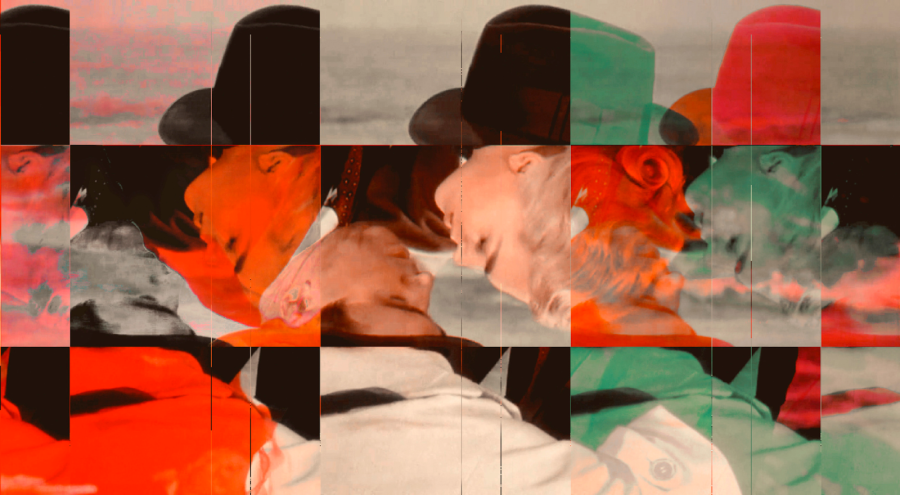
Sky Goodman
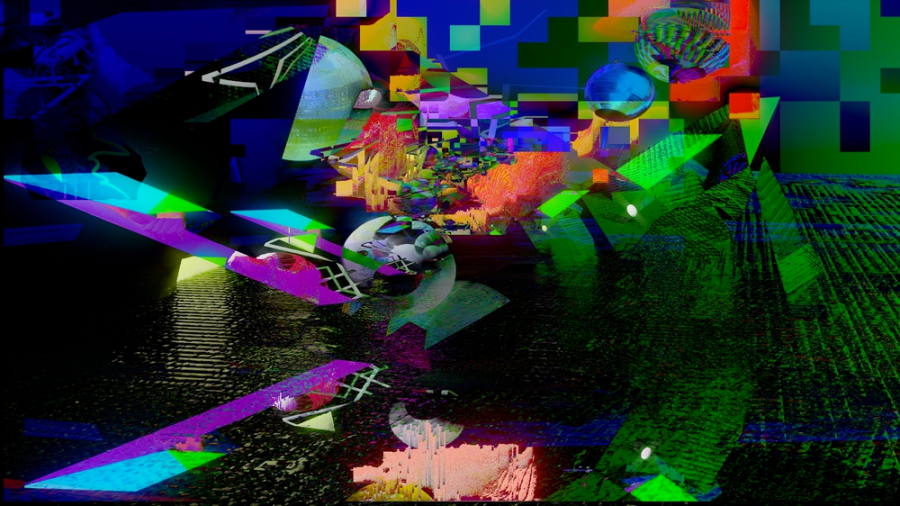
Chepertom
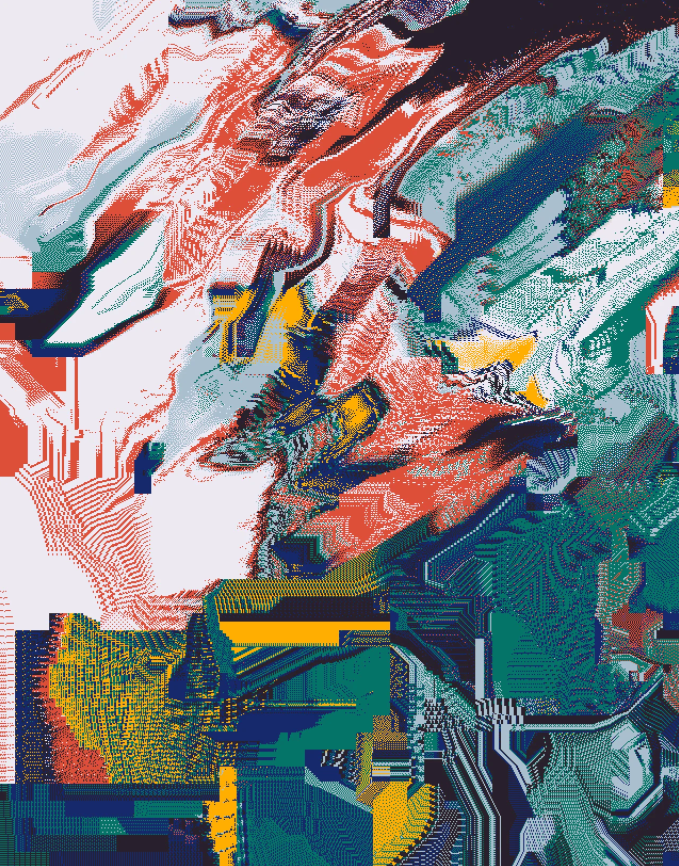
For more glitch artists, check out our article “What is Trash Art?”
Pixel Sorting with Processing
Pixel sorting is all about changing the arrangement of pixels in your image to create different visual effects. To do this, we’ll use a programming language called Processing.
Step 1: Setting Up Processing
If you haven’t done so already, you’ll need to download and install Processing. You can get it from the official website: https://processing.org/
After installing, open up Processing. You’ll be presented with a text editor where you can write your code.
Step 2: Load an Image
First, we will load an image that we want to pixel sort. We will do this using Processing’s PImage class. We’ll also need the loadImage() function.
The first two functions you will always need in a Processing sketch are setup() and draw(). setup() runs once when the program starts and draw() runs in a loop after setup has finished.
Here is how you can load an image:
PImage img;
void setup() {  size(720, 400);  img = loadImage("your_image.jpg");}
void draw() {  image(img, 0, 0);}
This code loads an image called “your_image.jpg” and displays it at the coordinates (0,0). You should replace “your_image.jpg” with the name of your image file, which should be in the sketch’s “data” folder. You can also change the dimensions to fit the original image.
Step 3: Pixel Sorting
Now we can implement pixel sorting. We’ll need to access the individual pixels of our image, sort them, and then update the image with the sorted pixels. You can find code snippets available from the glitch community. For now, below is a sample script to run and which could keep you busy for a long time.
This code sorts the pixels based on the red component of the color. You can adjust the sorting function to use other properties of the colors (e.g., green(), blue(), brightness(), etc.) based on the effect you’re looking for.
The bubbleSort() function is a very simple sorting function that you can use if you don’t have a lot of data to sort. If you’re working with larger images, you might want to use a more efficient sorting algorithm or find a library that provides one.
Here’s a basic example of how to do this:
PImage img;
void setup() {
size(720, 400);
img = loadImage("your_image.jpg");
img.loadPixels();     color[] colors = new color[img.width];

for (int y = 0; y < img.height; y++) {
// Get the colors of the current row of pixels
for (int x = 0; x < img.width; x++) {
colors[x] = img.pixels[x + y * img.width];    }
    // Sort the colors     bubbleSort(colors);     // Set the sorted colors back to the image
for (int x = 0; x < img.width; x++) {      img.pixels[x + y * img.width] = colors[x];    }  }

img.updatePixels();
image(img, 0, 0);

save("sorted_image.jpg"); // saves the image to the sketch's folder} void draw() {  // nothing here since we do everything in setup()} void bubbleSort(color[] colors) {
boolean sorted = false;
color temp;
while (!sorted) {
sorted = true;
for (int i = 0; i < colors.length - 1; i++) {
if (red(colors[i]) > red(colors[i+1])) {
temp = colors[i];
colors[i] = colors[i+1];
colors[i+1] = temp;
sorted = false;
}
}
}}
The save() function should be used after image() since the image must be drawn to the screen before it can be saved. The image file (“sorted_image.jpg”) will be saved in the sketch’s folder. You can change “sorted_image.jpg” to whatever you want the output file to be named.
Remember that save() can only be used inside setup() or draw(). Also, if you want to run this sketch multiple times without overwriting the previous output, you will need to change the filename each time.

Step 4: Play Around
Try using different images, different sorting methods, and different transformations. Pixel sorting is as much an art as it is a science, so don’t be afraid to experiment and see what you can create!
Please remember to save your work regularly. Processing code can be saved as a .pde file which you can share with others or keep for future reference.
This tutorial has provided the basics of pixel sorting in Processing, and there is still a lot to explore. The Processing website and community are full of resources and examples that can help you further refine your pixel-sorting skills and broaden your creative coding capabilities.
Conclusion
Remember, these are just starting points. Digital glitch art is all about exploring, so don’t be afraid to mix techniques, test new tools, and keep experimenting until you find what resonates with your personal style. Happy glitching!
For updates on all of our editorial features, subscribe to our newsletter below.
- SEO Powered Content & PR Distribution. Get Amplified Today.
- PlatoData.Network Vertical Generative Ai. Empower Yourself. Access Here.
- PlatoAiStream. Web3 Intelligence. Knowledge Amplified. Access Here.
- PlatoESG. Automotive / EVs, Carbon, CleanTech, Energy, Environment, Solar, Waste Management. Access Here.
- BlockOffsets. Modernizing Environmental Offset Ownership. Access Here.
- Source: https://rare.makersplace.com/2023/07/20/gateway-to-glitch-10-top-artists-and-quick-pixelsorting-lesson/?utm_source=rss&utm_medium=rss&utm_campaign=gateway-to-glitch-10-top-artists-and-quick-pixelsorting-lesson
- :has
- :is
- :not
- :where
- $UP
- 1
- 10
- 32
- 9
- a
- About
- access
- afraid
- After
- algorithm
- All
- already
- also
- always
- an
- and
- any
- ARE
- arrangement
- Art
- article
- Artists
- AS
- At
- available
- back
- based
- basic
- Basics
- BE
- beautiful
- before
- began
- below
- between
- blockchain
- broaden
- broadly
- Broken
- busy
- but
- by
- called
- came
- CAN
- Can Get
- capabilities
- captivating
- Century
- change
- changing
- check
- class
- code
- Coding
- color
- community
- component
- could
- create
- created
- Creative
- Current
- data
- defined
- demystify
- describe
- different
- digital
- dimensions
- displays
- do
- done
- Dont
- download
- drawn
- during
- e
- each
- easy
- editor
- Editorial
- effect
- effects
- efficient
- error
- Errors
- etc
- Even
- EVER
- everything
- example
- examples
- experiment
- explore
- Exploring
- false
- fantastic
- Features
- File
- Find
- First
- fit
- For
- form
- found
- from
- full
- function
- functions
- further
- future
- gateway
- get
- Give
- glitch
- Gold
- guide
- happy
- Have
- height
- help
- here
- How
- How To
- HTTPS
- i
- if
- image
- images
- implement
- in
- individual
- inside
- Inspiration
- install
- installing
- instead
- Intentional
- Interview
- IT
- jpg
- just
- Keep
- language
- larger
- Late
- least
- Length
- less
- lesson
- Library
- light
- List
- load
- loads
- Long
- long time
- looking
- Lot
- love
- mailchimp
- malfunctions
- Matter
- max-width
- methods
- might
- missions
- mix
- more
- more efficient
- much
- multiple
- must
- name
- Named
- Nasa
- Need
- New
- Newsletter
- nothing
- now
- occur
- of
- official
- Official Website
- on
- once
- ONE
- only
- open
- or
- original
- Other
- Others
- our
- out
- output
- per
- personal
- piece
- Pixel
- plato
- Plato AiStream
- Plato Data Intelligence
- PlatoAiCast
- PlatoData
- Play
- plugin
- podcast
- points
- presented
- previous
- problems
- processing
- Program
- Programming
- properties
- provided
- provides
- Quick
- Red
- refine
- regularly
- remember
- replace
- resonates
- Resources
- rob
- ROSA
- ROW
- Run
- runs
- s
- Save
- Science
- Screen
- see
- selection
- Series
- set
- setting
- setup
- Share
- should
- showcasing
- Simple
- since
- skills
- sky
- So
- Soul
- Space
- Spotify
- Starting
- starts
- Still
- style
- subject
- subscribe
- Technical
- techniques
- technological
- television
- test
- that
- The
- The Basics
- the world
- Them
- then
- There.
- These
- this
- time
- times
- to
- tools
- top
- transformations
- true
- tutorial
- two
- uniquely
- until
- Update
- Updates
- use
- used
- using
- Variant
- very
- want
- was
- we
- Web3
- Website
- What
- whatever
- when
- which
- while
- will
- with
- without
- woefully
- Word
- WordPress
- WordPress plugin
- Work
- working
- world
- world’s
- write
- writing
- X
- you
- Your

